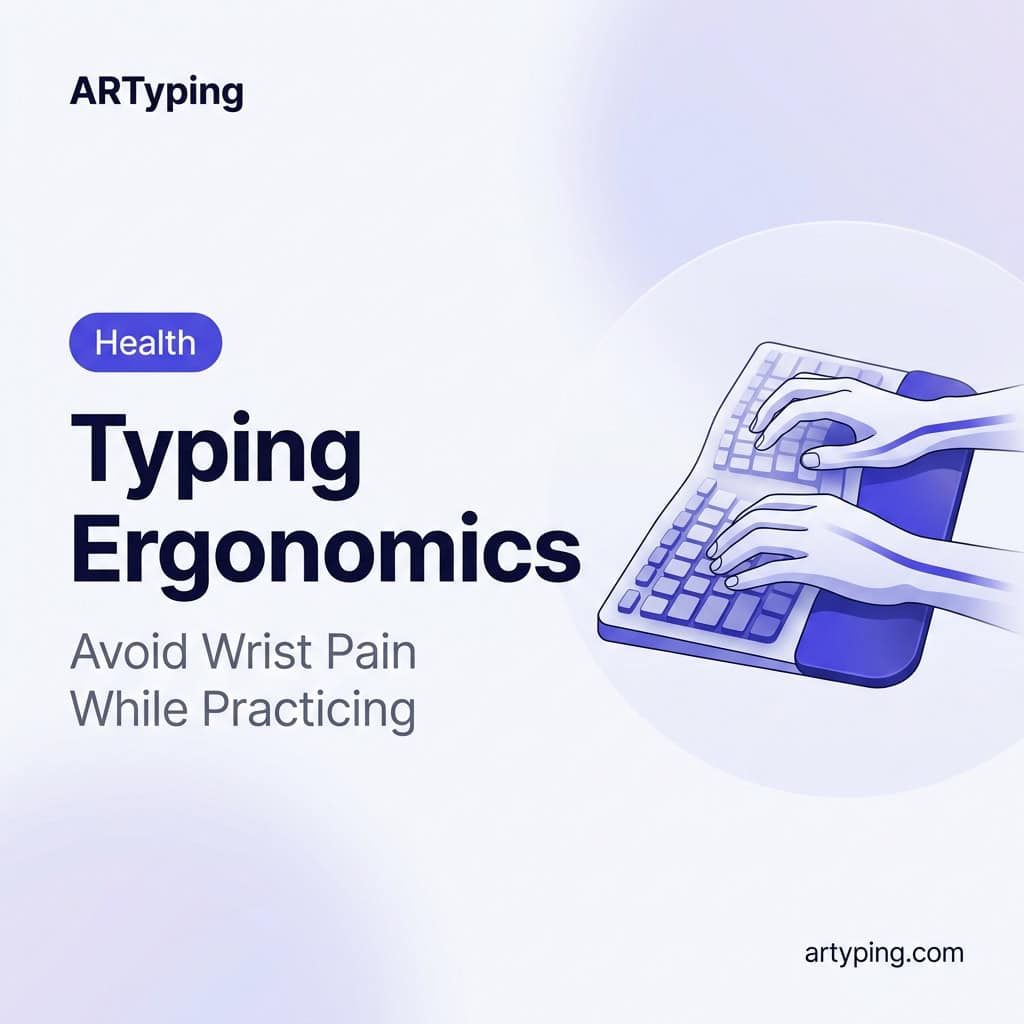
Typing Ergonomics — How to Avoid Wrist Pain While Practicing
Typing Ergonomics for Government Exam Preparation — Complete Setup and Injury Prevention Guide
If you're preparing for a government typing exam — UP Police, UPSSSC, SSC, or any court stenographer post — you've probably set yourself a daily practice target. One hour. Maybe two. That kind of dedication is exactly what separates candidates who clear the typing test from those who don't. But there's a risk that almost nobody talks about in exam preparation circles: practicing with bad ergonomics for weeks at a stretch can injure your hands before your exam even arrives.
This isn't a scare tactic. Repetitive Strain Injury (RSI) and early-stage carpal tunnel symptoms are genuinely common among typing students who practice intensively without the right setup. The frustrating part is that most of this pain is entirely preventable. A few adjustments to your desk, your posture, and your practice schedule can make the difference between smooth, pain-free preparation and having to rest your hands for two weeks right before your exam.
This guide covers everything — desk setup, wrist position, stretching exercises, break schedules, and the warning signs you should never ignore. Read it once, implement it today, and you won't need to think about it again.
Why Ignoring Ergonomics Can Derail Your Exam Preparation
Many aspirants practice for hours with terrible posture. They hunch over the keyboard, press their wrists against the desk edge, tilt the screen at odd angles, and wonder why their hands ache after 30 minutes. The body can absorb poor posture for a short time, but typing is a repetitive motion. The same tendons, nerves, and joints take the same stress, in the same wrong position, hundreds of thousands of times during a preparation cycle.
From our experience working with typing students, roughly 1 in 5 candidates who practice more than 45 minutes daily without proper ergonomics develops some form of hand or wrist discomfort within 4–6 weeks. Mild cases mean sore wrists. Serious cases mean numbness, weakness, and a forced break from practice at the worst possible time.
The good news is that proper ergonomics requires no expensive equipment. A correctly adjusted chair, a flat keyboard, and a monitor at the right height solve 90% of the problem. The remaining 10% is handled by stretching and breaks — both of which take under 5 minutes per session.
The Correct Desk and Chair Setup — Every Element Matters
Your physical setup is the foundation. If one element is wrong, it creates a chain reaction — a desk that's too high raises your shoulders, which tenses your neck, which strains your upper back. Get each element right and your body can type comfortably for extended sessions without fighting itself.
| Element | Correct Position | Common Mistake | Why It Matters |
|---|---|---|---|
| Chair height | Feet flat on floor, knees at 90° | Chair too high, feet dangling | Dangling feet shifts weight to thighs and lower back |
| Desk height | Elbows at 90° when hands rest on keyboard | Desk too high, shoulders raised | Raised shoulders cause neck and upper back tension within minutes |
| Monitor distance | Arm's length away (50–70 cm) | Monitor too close, leaning forward | Leaning forward puts 3× more load on your cervical spine |
| Monitor height | Top of screen at or just below eye level | Screen too low, neck bent downward | Downward neck bend for 60 minutes = serious neck strain over weeks |
| Keyboard position | Directly in front of you, flat (legs retracted) | Keyboard tilted upward with legs extended | Upward tilt forces wrists into extension — leading cause of wrist pain |
| Wrist alignment | Straight line from forearm through wrist to knuckles | Wrists bent up, down, or sideways while typing | Any deviation from neutral position compresses tendons with each keystroke |
| Back support | Lower back lightly touching chair back, slight inward curve | Slouching forward away from chair back | Slouching compresses lumbar discs and causes fatigue within 20 minutes |
The single most common mistake among typing students? Extended keyboard legs. Almost every standard keyboard has two small flip-out legs on the back. Most people extend them instinctively because the keyboard "looks better" tilted up. In reality, that upward tilt forces your wrists into a bent-back (extended) position with every single keystroke. Over an hour of practice, that's tens of thousands of repetitions of the exact motion that causes wrist injury. Retract those legs. A flat keyboard is always ergonomically superior.
If your desk is too high and you can't adjust it, try raising your chair and using a footrest (even a thick book works). If your monitor is too low, place it on a stand or a stack of books to bring it to eye level. You don't need expensive equipment to get this right — you need awareness.
The Critical Wrist Position — What "Neutral" Actually Means
The word "neutral wrist position" gets thrown around a lot in ergonomics guides, but most people don't have a clear picture of what it actually looks like. Here's the simplest way to find it: let your hand hang loosely at your side. Notice how your wrist naturally aligns with your forearm — no bend up, no bend down, just a straight continuation of your arm. That is your neutral wrist position. That's exactly what you should maintain while typing.
When you sit at your keyboard, your wrists should float slightly above the surface — not resting on the desk, not pressing against a wrist pad during active typing, and not bending in any direction. Think of it like playing the piano. A pianist's wrists stay level while their fingers curve downward to reach the keys. The same principle applies to keyboard typing.
- Don't rest wrists on the desk edge while typing: The edge of a desk puts direct pressure on the carpal tunnel — the narrow passage in your wrist where the median nerve and several tendons run through. Constant pressure there restricts blood flow and nerve function. Over weeks, this is how carpal tunnel syndrome develops.
- Don't use hard wrist rests during active typing: A gel wrist rest is excellent for resting your hands between bursts of typing. But during active typing, your wrists should be floating freely. Pressing your wrists against any surface while your fingers are moving increases the compressive load on your tendons.
- Avoid ulnar deviation: This is the sideways wrist bend that happens when your keyboard is too wide and your hands angle outward to reach the keys. If you notice your pinkies are lower than your index fingers while typing, you're deviating. Try moving the keyboard closer to your body and squaring it directly in front of you.
Essential Stretching Exercises — 3 Minutes That Prevent Weeks of Pain
Tendons and ligaments in the hand and wrist have poor blood supply compared to muscles. This means they warm up slowly, fatigue quickly, and recover slowly. A 3-minute warm-up before every typing session dramatically reduces the stress these structures absorb during practice.
Do all of the following before you start typing, and repeat the first three during your mid-session break:
- Finger Spread — 15 seconds: Spread all five fingers as wide as possible, hold for 5 seconds, then make a tight fist. Repeat 4 times per hand. This loosens the intrinsic muscles of the hand that get tight during typing.
- Wrist Circles — 20 seconds: With your arm extended, rotate your wrist slowly — 8 full circles clockwise, then 8 counterclockwise. Do both hands. Move slowly enough that you can feel any stiffness or resistance in the joint.
- Prayer Stretch — 20 seconds: Press your palms together in front of your chest (prayer position). Slowly lower your joined hands toward your waist while keeping the palms pressed together. You'll feel a deep stretch along the inner wrist. Hold at the point of maximum comfortable stretch for 15 seconds.
- Reverse Prayer — 20 seconds: Now press the backs of your hands together in front of your chest. Lower them slowly toward your waist. This stretches the outer wrist and forearm extensors — the muscles that lift your fingers between keystrokes.
- Finger Tendon Glides — 20 seconds: Start with all fingers straight and spread. Then curl them into a hook shape (first knuckle bent, others straight). Then curl into a full fist. Then straighten again. Repeat this sequence 8 times. This exercise specifically mobilizes the flexor tendons that run through the carpal tunnel.
- Forearm Stretch — 20 seconds per side: Extend one arm straight in front of you, palm facing outward (as if signaling "stop"). Use your other hand to gently pull your fingers back toward your body. Hold 15 seconds. Then flip — palm facing you, fingers pointing down — and gently push the back of your hand toward your body. Hold 15 seconds. Switch arms. This addresses the forearm muscles that control finger movement.
These six exercises take under 3 minutes. That is an extremely small investment relative to the injury risk it eliminates. Make it a non-negotiable part of your practice routine — as automatic as opening your browser or launching your typing software.
The Ideal Break Schedule for Daily Typing Practice
Continuous typing without breaks is the fastest path to RSI. Your tendons and joints need periodic recovery during a session, not just after it. Here is the break schedule we recommend for government exam typing preparation:
- Every 20 minutes — 20-second micro-break: Look away from the screen. Shake your hands out gently by your sides, like you're flicking water off your fingertips. Roll your shoulders back twice. This takes 20 seconds and prevents the cumulative tension that builds up without you noticing.
- Every 45 minutes — 5-minute full break: Stand up completely. Walk away from the desk — even just to get a glass of water. Do the wrist circles and prayer stretch from the warm-up routine. Sit back down only when you feel genuinely ready to continue.
- Session maximum — 60 minutes: Even with micro-breaks built in, don't type for more than 60 continuous minutes in a single sitting. Your tendons need meaningful recovery time between sessions. For most exam aspirants practicing 20–45 minutes daily, this limit won't even come into play — but for those doing longer weekend sessions, it matters.
If your exam schedule requires longer practice sessions as the test date approaches, split them: 45 minutes in the morning, a gap of at least 2 hours, then 45 minutes in the evening. This gives your hands genuine recovery time and actually produces better skill retention than one 90-minute block.
Warning Signs You Should Never Ignore
Your body gives clear signals before an injury becomes serious. Most people ignore them because the symptoms seem minor — a little tingling, a bit of soreness. By the time the pain becomes impossible to ignore, the injury is already significant. Learn to recognize the early warning signs and respond immediately.
Stop typing and rest for at least 24–48 hours if you experience any of the following:
- Tingling or numbness in fingers — especially in the thumb, index finger, and middle finger. This is the signature symptom of median nerve compression in the carpal tunnel.
- Pain that continues after you stop typing — normal fatigue disappears within 20–30 minutes of rest. Pain that lingers for hours after a session indicates something more serious is developing.
- Reduced grip strength — difficulty turning a doorknob, opening a jar, or holding a pen normally. This signals that the muscles controlling your grip are under significant stress.
- Swelling or visible puffiness around the wrist or base of the thumb.
- Pain that wakes you at night — this is a hallmark of carpal tunnel syndrome and should be taken very seriously. Night pain means the nerve is compressed even without any typing activity.
- Clicking or snapping sensations in the wrist or finger joints during movement — this can indicate tendon inflammation (tenosynovitis).
If any of these symptoms persist for more than 5–7 days despite rest and corrected ergonomics, see a doctor. Early-stage RSI and carpal tunnel syndrome are highly treatable with simple interventions like splinting, anti-inflammatory treatment, and physical therapy. Ignored for months, they can become chronic conditions requiring surgery. Catching them early is always the right decision.
Frequently Asked Questions
Should I use a wrist rest during typing practice?
A soft gel wrist rest is useful for resting your hands between active typing bursts — for example, while reading a passage before you start typing it. During active typing, however, your wrists should float freely above the keyboard without resting on anything. Hard or elevated wrist rests used during typing put pressure directly on the carpal tunnel and are counterproductive.
Is a mechanical keyboard better for ergonomics?
Mechanical keyboards with low actuation force — such as linear switches like Cherry MX Red — require less downward pressure per keystroke, which reduces cumulative finger fatigue over a long session. However, for government exam preparation where most practice sessions are 20–45 minutes, the keyboard type matters far less than posture and wrist position. Any keyboard used with correct technique is fine. Don't delay fixing your ergonomics while waiting for equipment upgrades.
How often should I take breaks during typing practice?
A 20-second shake-out every 20 minutes, and a proper 5-minute standing break every 45 minutes. For most aspirants whose daily practice sessions are 20–30 minutes long, one short break in the middle is sufficient. As your session length increases during the final weeks before your exam, the break schedule becomes increasingly important.
My wrists hurt after typing. Should I stop completely?
If the discomfort is mild and disappears within an hour of stopping, reduce your session length by 30–40% and use this guide to fix your desk setup and wrist position before your next session. If the pain is moderate, sharp, or persists for several hours after stopping, rest completely for 2–3 days. If pain does not improve after 5–7 days of rest, consult a doctor. Never push through persistent pain — it does not go away on its own and will get significantly worse with continued strain.
Can typing-related injuries be reversed?
Yes, when caught early. Most typing discomfort and early-stage RSI resolves fully within 1–3 weeks of correcting posture, adjusting the workspace, incorporating stretching, and reducing session intensity. The key is responding to early warning signs rather than waiting until the problem is severe. Chronic RSI that has been ignored for months is far more difficult to treat.
I practice on a laptop. Does ergonomics advice still apply?
Yes — and laptop ergonomics are actually harder to get right because the screen and keyboard are attached. If you use a laptop, either use it with an external keyboard and mouse (elevating the screen to eye level), or accept that laptop-only practice will require more frequent breaks and extra attention to wrist position. Typing on a flat surface with a laptop on your lap is the worst possible setup for extended practice sessions.
Good ergonomics is not optional — it's as fundamental to your exam preparation as daily word count targets and speed drills. Spend 15 minutes today adjusting your desk setup, print out the stretching exercises, and set a timer for your breaks. These habits take almost no time to implement and can save you weeks of forced rest from an entirely preventable injury. Bookmark this page and share it with other aspirants in your study group — because an injury during peak preparation time affects the entire team.